IP Nest Box Camera
Providing a nest box for birds is one of the easiest ways that you can help wildlife in your garden or compensate for lost nesting sites as a result of development. Adding a nest box camera gives you a unique insight into the fascinating processes of nest building, egg laying, incubation and chick rearing. The IP Nest Box Camera is the ideal camera to use if you wish to live stream footage from the camera on to a PC, smartphone, tablet or to a website. The high definition camera provides 1920 x 1080p colour footage during the day and black and white footage at night and the high quality video makes it perfect for enthusiasts and researchers alike. We decided to test the IP Nest Box Camera to examine how easy it was to set up and use.
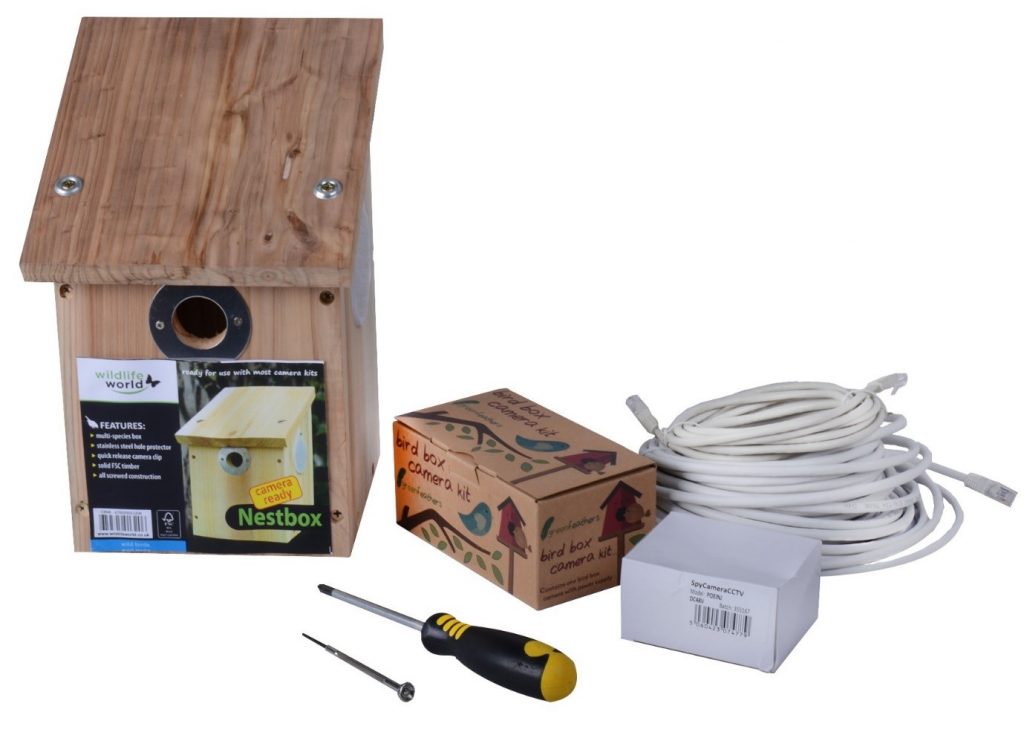
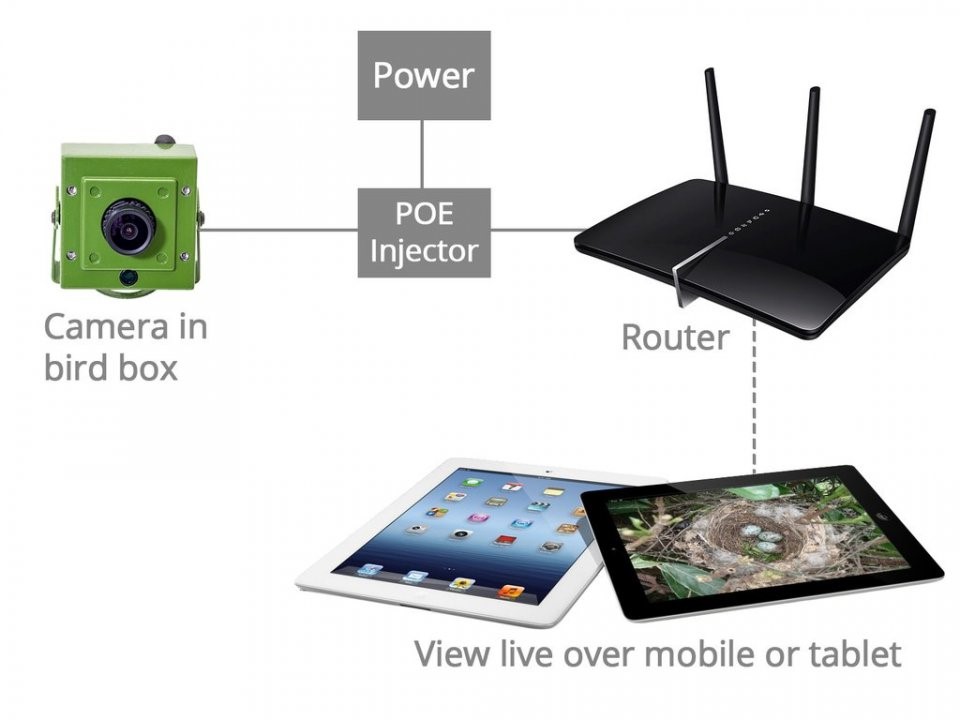
The small camera plugs directly into your router or network switch via a 20m Cat6 ethernet cable with waterproof connector. Following setup on your PC or via an app on your mobile device, live streaming can begin. We tested only PC viewing and recording. If viewing on a PC, most camera access software will allow both motion detection and scheduled recording.
There are many nest box cameras available that will cover a wide range of requirements, and our blog post on Watching Wildlife – How to choose the right Nest Box Camera can help you decide between the different options.
Setting Up
Before you install the camera in the nest box it is a good idea to wire it all up and check everything is working. We followed the Green Feathers Quick Start Guide instructions to connect the Cat6 cable between the camera and the PoE injector and between the injector and the router / switch, and then connected the injector to a power supply using the supplied adapter. We downloaded three camera access software programs to trial, Gamut CMS5, iSpy (both as recommended by Green Feathers) and Anycam.iO.
We installed the camera in our Camera Ready Nest Box and found that the easiest way of installing the camera into the box lid was to attach the camera bracket to the lid first and then to attach the camera to its bracket afterwards. It is best to have the camera pointing directly downwards and not angled.
 After the box was installed in position, we connected everything up and downloaded software to connect to the camera. We have tried three software programs, all of which are free to download, although additional features may require payment.
Anycam.iO
iSpy
Gamut CMS5 – link to download
What We Found
The camera was really easy to connect up and access across the network. The main software we used to configure the camera was the Gamut CMS5 software and we followed the supplier instructions for how to add an HD IP camera to the Gamut software. There are many configuration options and we updated the time and date on the camera and added it to the software without any problems
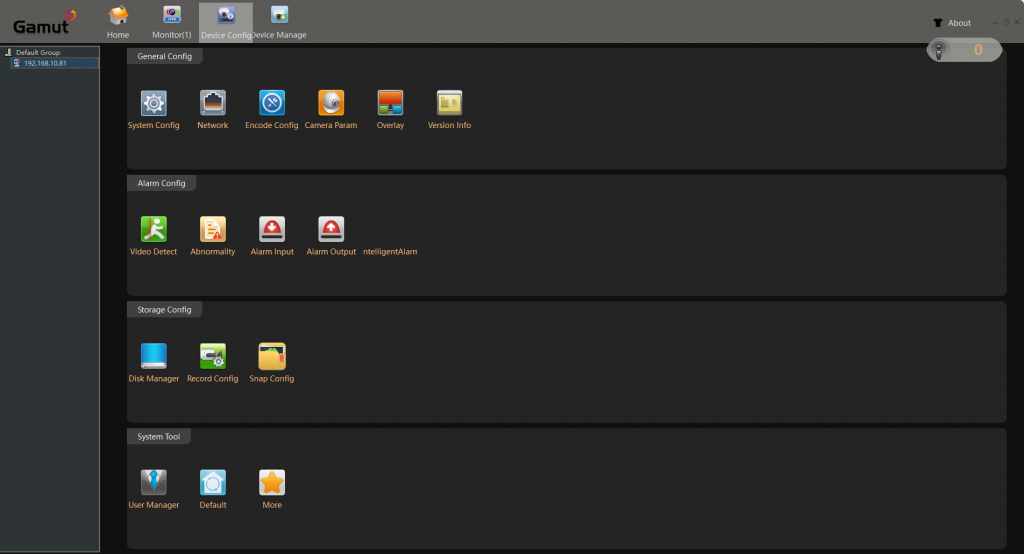
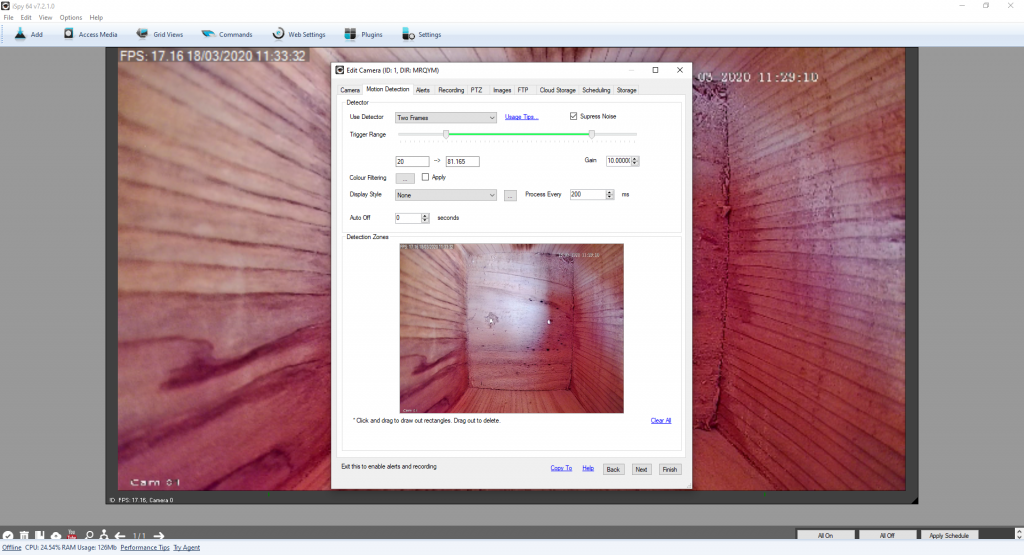
We discovered a difficulty with the Gamut software, however, in that you cannot record to a subdirectory, you either need to record to an empty storage device that is mounted on its own drive or a partitioned and empty C:/ drive. For this reason we also tried the iSpy software, following the supplier instructions for how to configure an HD IP camera to record to a Windows PC. This was a very easy process and we managed to get the software to record with motion detection with no difficulties.
We also tested recording on the Anycam.iO software, which was very easy to install and set up. Recording and taking snapshots images are easy but you have to pay extra to get the motion detection function.
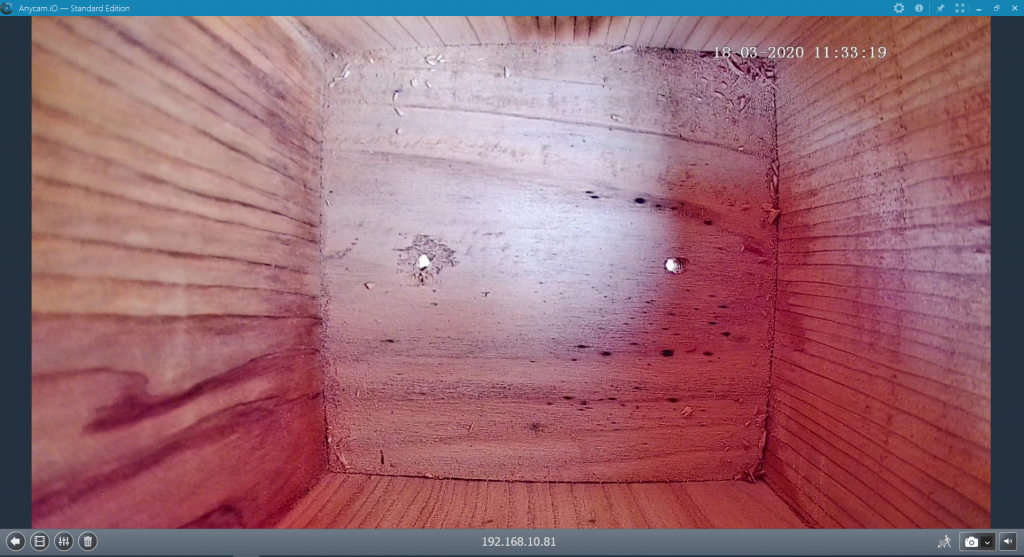
The Anycam.iO software was by far the easiest to use, with a really simple interface and really good resolution images and video. It is immediately obvious how to take a snapshot photo and how to record manually and if you pay the extra for the motion detection it is really easy to configure. One thing we did find is that you have to be careful with the ‘Archive’ setting on the Recording menu because it limits how much footage it will store unless it is set to ‘Unlimited’.
The images below were all taken with the Anycam.iO software and you can see the quality of the colour and resolution.
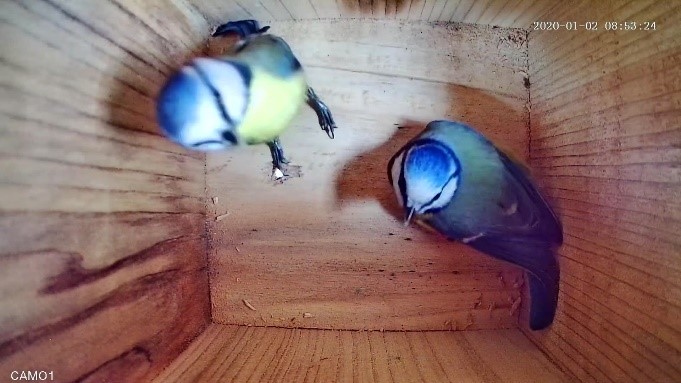
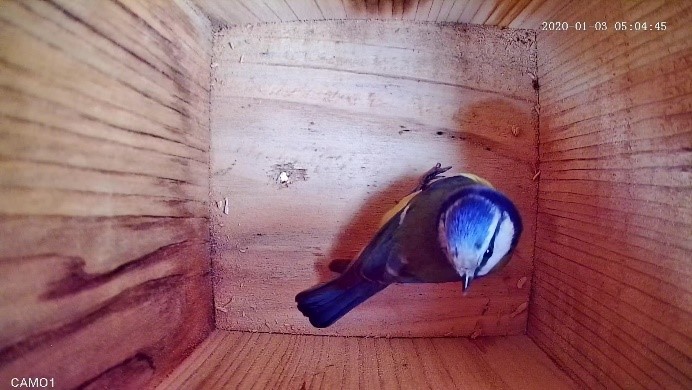
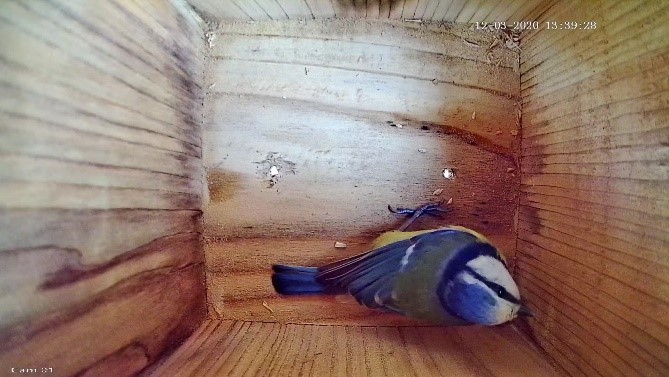
We captured some fantastic video footage of the blue tits first visiting the nest box and then a later video where the female is making her own nest box modifications. The quality of the later recording does seem to have deteriorated, which shows the difference when the light quality coming into the box is poor.
The iSpy software had many more configuration options than the Anycam.iO software but the recorded footage seemed not to be as high quality. The interface would suit a more professional user as there are many more settings that can be altered.
Our Opinion
We highly recommend purchasing the IP Nest Box Camera if you have the facility to connect a camera directly into a network. The footage is really high quality, with excellent resolution still images, and the camera provides a reliable continuous live stream. There are a number of different software options to suit a range of users and the camera can be used to capture still images and video with motion detection. We are hoping that our blue tit visitors begin bringing in nesting material soon and we can post updates on nest building. The IP Nest Box Camera is available to buy from the NHBS website. For any advice on purchasing this or other nest box cameras, please do not hesitate to contact our team of Wildlife Equipment Specialists on 01803 865913 or equipment@nhbs.com.


